Setting up your Mesh
This is the real meat and potatoes.
1/26/20242 min read

Considerations
When setting up your Mesh, its important to follow a few guidelines.
Node announcements happen on the Primary Channel. So you can't DM someone you don't have on your Primary Channel.
Location is shared on your Primary Channel.
All the cool stuff = Primary Channel....BUT
Secondary channels let you talk to other groups of people.
The radio comes with a secondary channel that is shared among all TypeX users if you choose not to delete it.
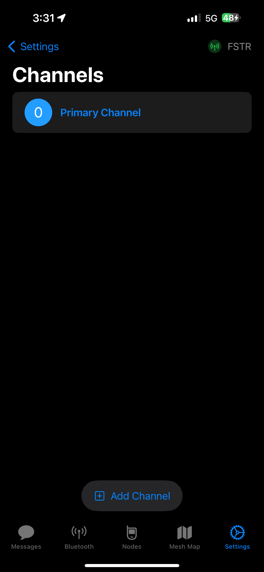
The Primary Channel
This is the channel for your company/family/group.
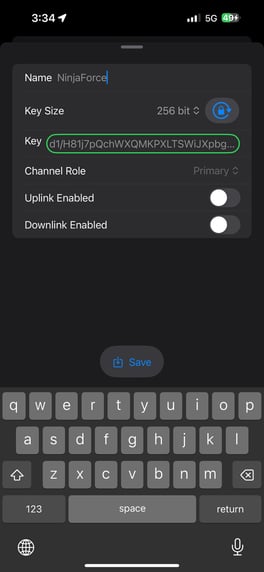
Settings -> Channels
Set Key Size to 256 bit
Click the Key Refresh Lock
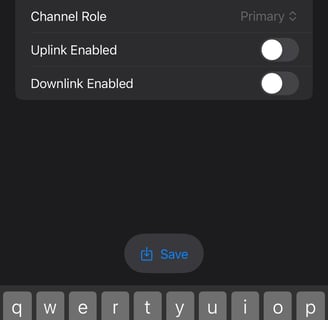
Save
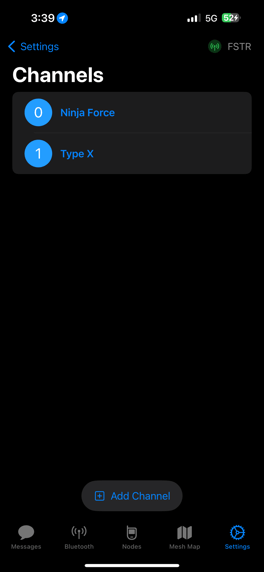
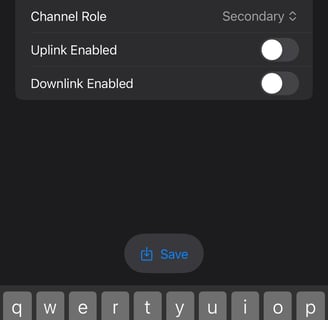
Secondary Channels
Same process, but select Secondary.
If you want to configure the TypeX Users channel, its name is IOP. Its key is: LSkRrUoisSk8dvtPQGRDqi2PohPz5ttTyyl/qmgjovQ=
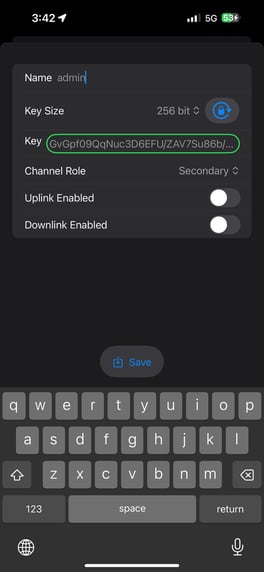
The Admin Channel
You can also configure an encrypted channel called "admin".
If this channel is configured, you can administer other nodes that have the same channel and crypto key.
This can be very useful for changing settings on distant repeaters and on units you want to change in the field.
More admin features are released every day.
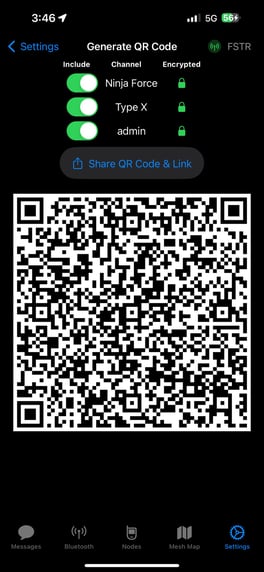
Sharing Channels
Channels are shared by selecting Settings -> Share Channels QR code
You can send the code/link, save it to a file share, or point a camera on another device connected to another node at the QR code on your phone.
This QR code and link file has your crypto keys in it - don't share/store unwisely.
You can print the QR codes off on slips of paper and store with your radios if you need to rotate keys.

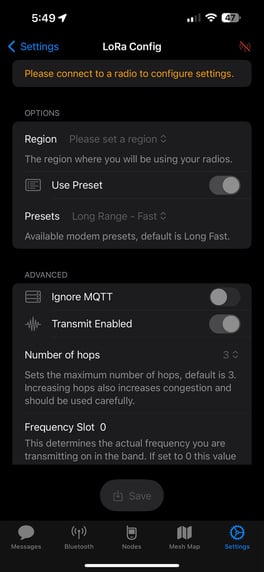
Setting the Hopset
If you want to talk to other users that have a different Primary Channel name, you both need to be on the same Hopset.
On Apple, go to Settings - LoRa
Change your Frequency Slot to match the other radio networks' hopset. This will allow communication.